3D Confocal Microscopy
Profile and thickness measurements
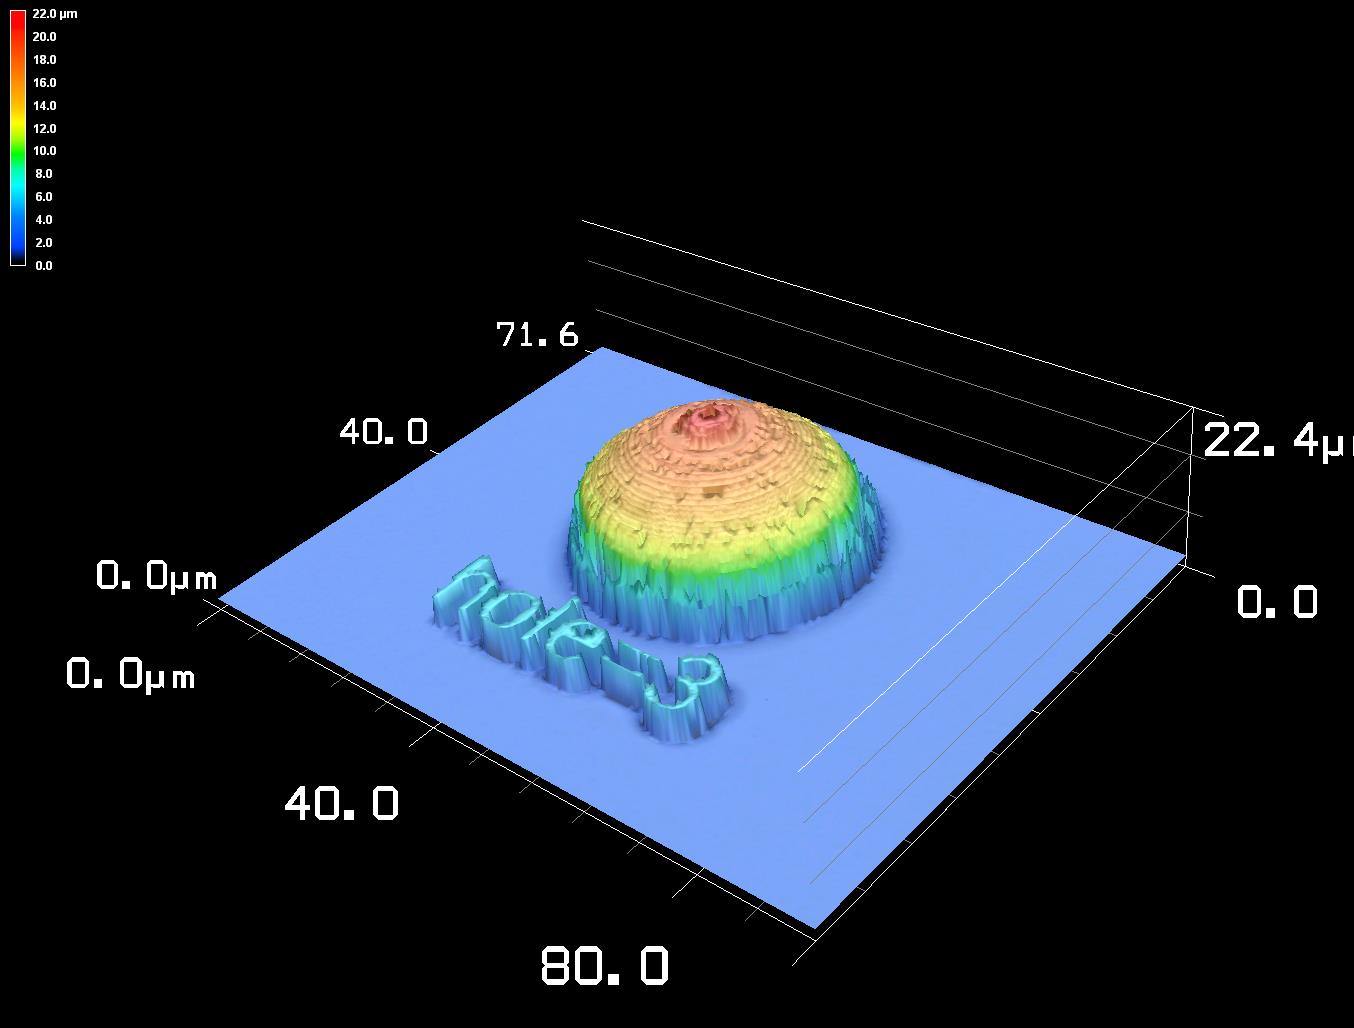
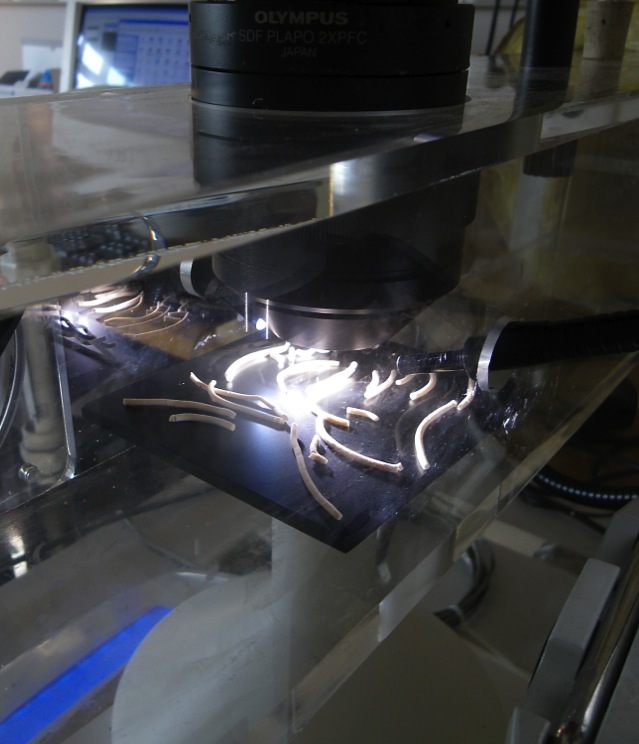
Using confocal microscopy (Microscopes|Confocal), surface profile measurements with a stated repeatability of 0.012 µm can be obtained in the height and 0.02µm for the width. For diffusively reflective surfaces, slopes up to 60° have been measured successfully. In addition, up to three interfaces can be detected allowing the characterisation of thickness profiles. In this way, one can for instance measure the thickness of a glass plate or even the air gap between glass substrates in a Hele-Shaw cell.
Show example applications.Nanoscribe
Nanometer-scale 3D printer
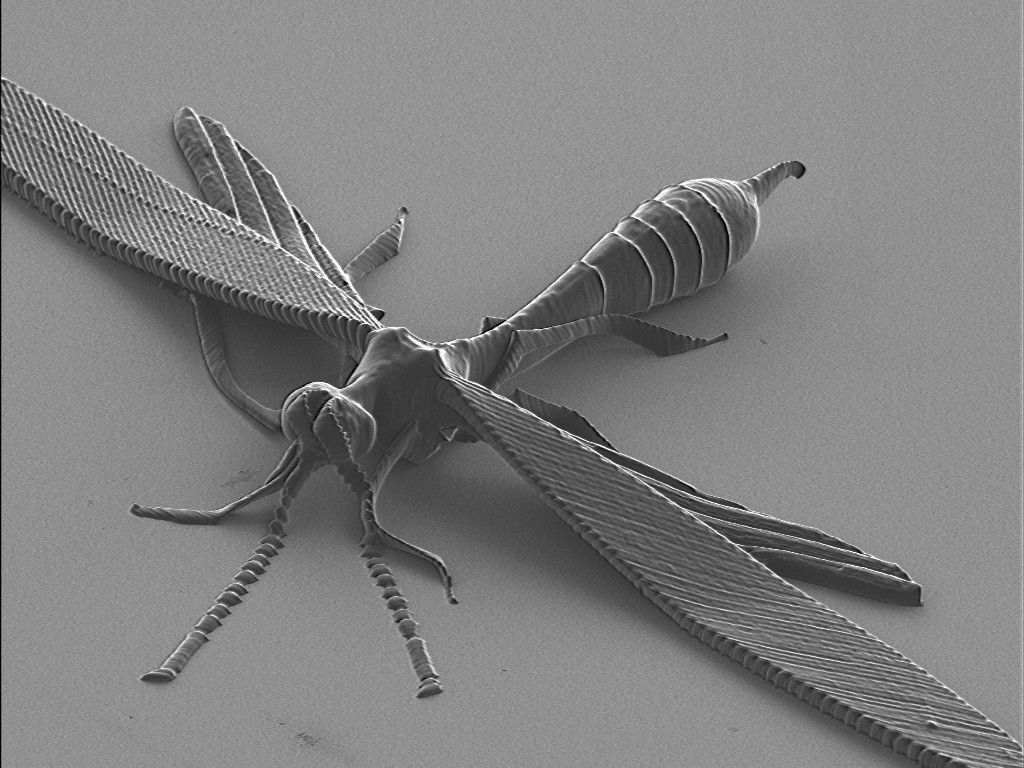
With a printed voxel size on the order of 200nm, this unique 3D-printer (Nanoscribe) is capable of creating micrometer-scale objects with (quasi-)random geometries. With such a small feature-size, it is only normal that the maximum size that can be printed in a reasonable time is in the order of a few millimeter. Shown in the images are some printed designs. Our 3D confocal microscope is capable of measuring the printed structures but for a better visualisation, a Scanning Electron Microscope or a Focussed Ion Beam-microscope is recommended.
Show example applications.Interferometry
Non-contact refractive index or thickness measurements.
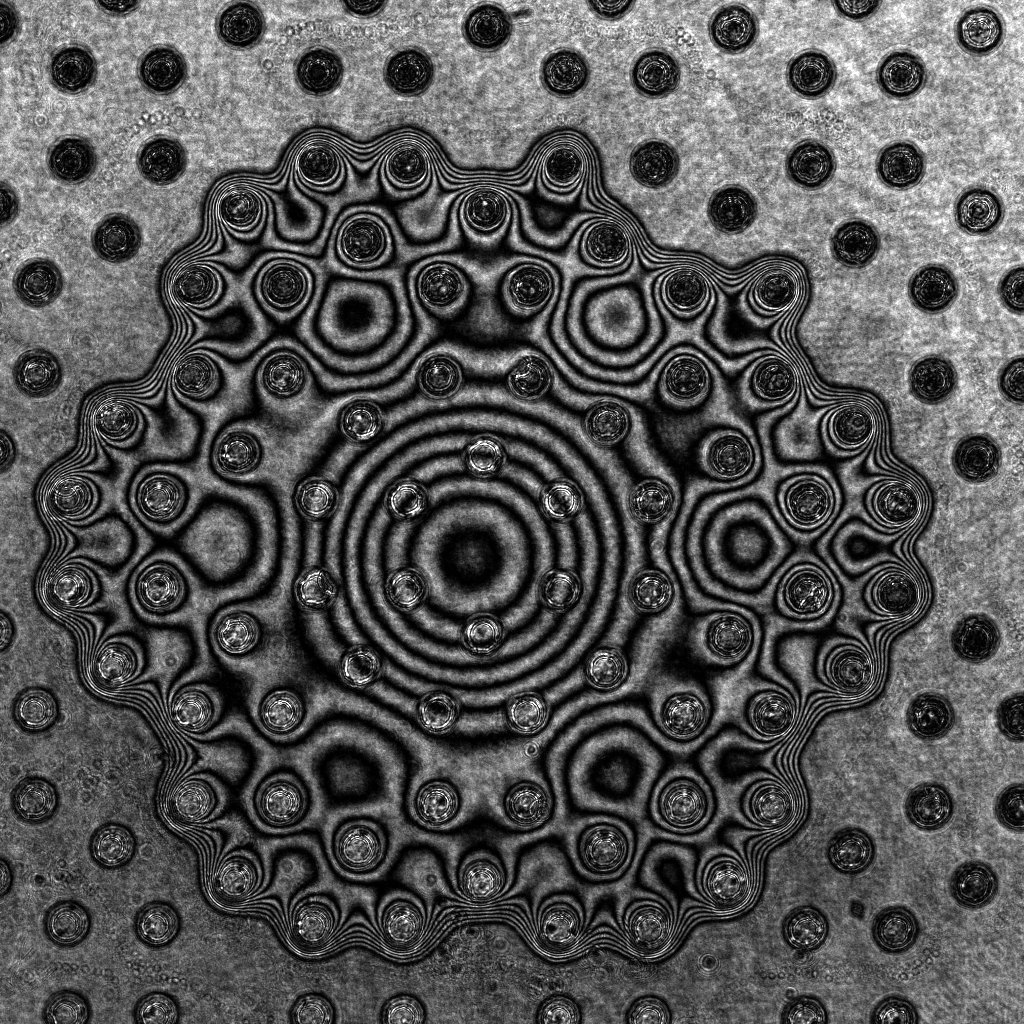
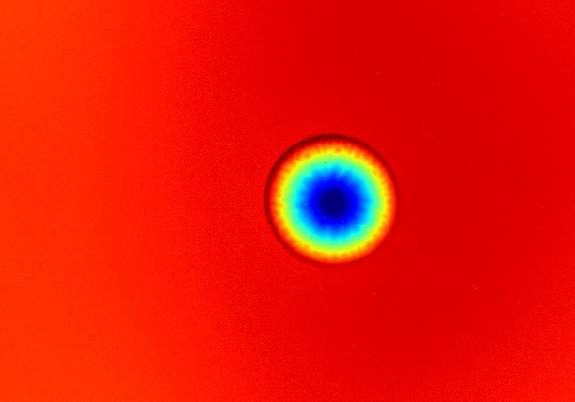
Using interferometry, we can measure 2D refractive index fields. After calibration, this can lead to accurate concentration or temperature measurements, typically in liquids but concentration measurements in a gaseous phase have been performed as well. Finally, also shape measurements are possible which can measure shapes with sub-micrometric precision. Our interferometers are custom-made using a Laser, some optics and a digital grayscale camera (Camera|Normal). Note that similar and complimentary equipment and expertise is available at the Microgravity Research Center at ULB (http://www.ulb.ac.be/polytech/mrc/).
Show example applications.Infra Red Thermography
Non-contact temperature measurements
Using infrared cameras, one is able to get a thermal signal from evaporating liquid layers or droplets. Also the evolution of drying fruits has been monitored. The equipment used to this end can be found here: Camera|InfraRed
Show example applications.Schlieren
Qualitative non-contact concentration and temperature measurements
A Schlieren optical setup allows the direct visualisation of gradients in chemical composition or temperature. It has been used for instance to measure the influence of chemical reactions on CO2 sequestration.
Show example applications.Micro- and Milli-Fluidics
Miniaturized liquid and gas flow control
Micro- and Milli-Fluidics is a varied toolbox in which photo-lithography, soft-lithography and capillaries are used to design intricate flow patterns capable of miniaturizing existing chemical reactors. In our clean-room, we have access to these techniques (Microfluidics) and are capable of combining them with 3D printed microstructures printed with Nanoscribe.
Show example applications.Active implantable devices
and its design and manufacture
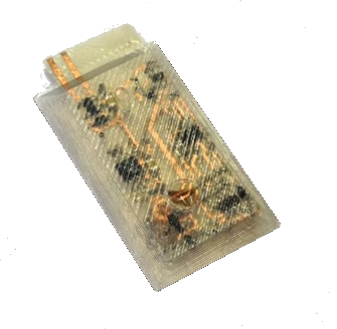
Our method to design and manufacture active implantable devices involves electronic circuit design, screen printing and silicone encapsulation. Electronic circuits are designed and tested in our Printed Circuit Board (PCB) workshop, which includes CAD suite, PCB specific oven, PCB engraver, microscope, … With our screen printer, various types of substrate can be used, including glass and alumina that are typical in biomedical applications. Finally, a custom-made vacuum centrifuge is used to encapsulate the electronic circuit in a silicone rubber.
Show example applications.A dedicated wind tunnel was built to allow for a detailed examination of the drying of e.g. food stuff under controlled conditions for temperature and flow speed. The characterisation is performed by a precise balance coupled with visual inspection using a microscope or an infrared camera
Show example applications.Bubble and Droplet Characterisation
Measuring diameters of small bubbles, droplets or particles
Using classical backlighting techniques and often a telecentric configuration, a direct visualisation of bubbles or droplets is possible.
Show example applications.Differential scanning calorimetry (DSC) is a analytical technique in which the difference in the amount of heat required to increase the temperature of a sample and a reference is measured as a function of the temperature. The basic principle underlying this technique is that when the sample undergoes a physical transformation, such as phase transitions, more or less heat will need to flow to it than to the reference, in order to maintain both at the same temperature. Therefore, by observing the difference in heat flow between the sample and the reference, differential scanning calorimeters are able to detect physical transformations and to measure the amount of heat absorbed or released during such transformations.
Show example applications.